Inspecting Your Concession Trailer After Transport

After a long-distance haul with your concession trailer, it’s tempting to dive straight into setup. But food trailers don’t always travel as smoothly as you might think. Shifting weight, vibration, or uneven roads can cause issues that may not be immediately visible.
A post-transport inspection allows you to identify and address problems before they compromise food safety, violate local regulations, or delay service. Below, we’ll walk you through the most important steps for inspecting your concession trailer after transport.
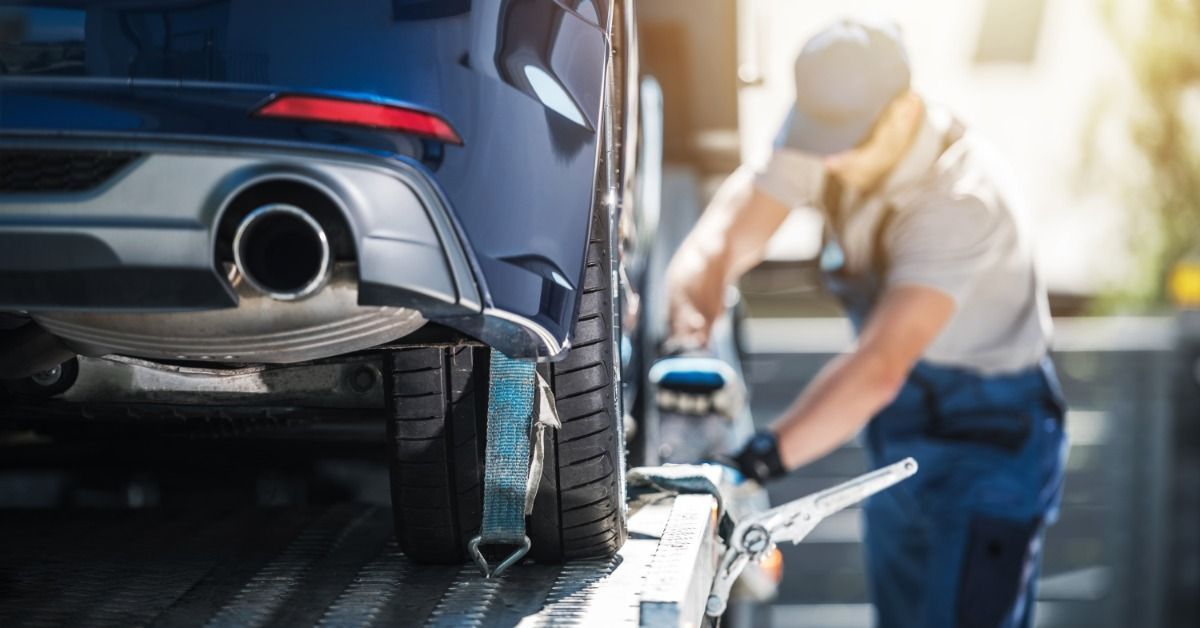
Assess Exterior Damage Immediately
Begin your inspection within 30 minutes of delivery, before the trailer is moved again or connected to any utilities. Walk the perimeter and take note of anything that appears off with your trailer’s exterior shell. Any subtle warping or hairline cracks can indicate a need for repairs.
Focus on structural elements like the roofline, corners, light fixtures, and undercarriage. Scratches near seams or latches could signal that the trailer shifted under pressure during transit.
Don’t overlook the hitch, fenders, or welds, especially around stress points where transport straps may have pulled. When panels look bowed or attachments seem misaligned, take clear photographs and record the location of the damage before moving the trailer further.
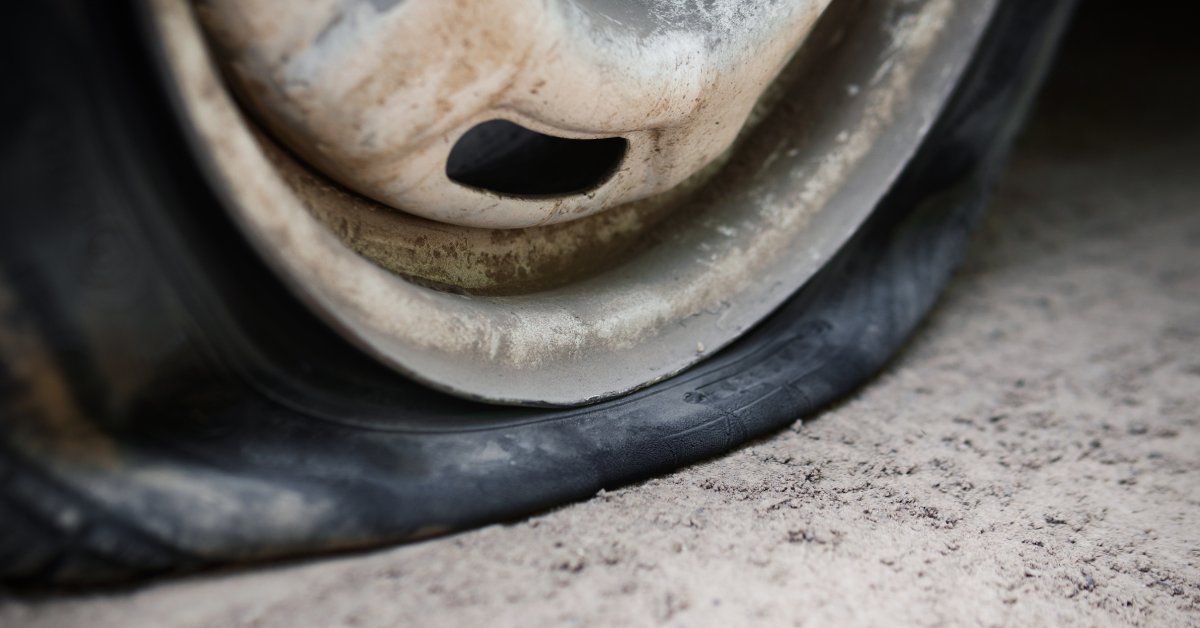
Inspect Tire and Axle Integrity
After checking the exterior shell, turn your attention to your concession trailer’s wheels and undercarriage. Tires often lose pressure during transport or develop uneven wear patterns that affect handling and safety.
Inspect each tire for cracks in the sidewalls, bulges, or visible steel cords. Examine the full circumference—not just the outward-facing side—and check tread depth using a gauge or penny. If you spot uneven wear, that could signal alignment or suspension issues. Use a tire pressure gauge and compare your readings to the manufacturer’s specifications, which are typically printed on the trailer or in the owner’s manual.
Next, review the axle assembly. Look closely at the leaf springs for cracks, sagging, or separation between the leafs. Survey the hubs and axle welds for signs of corrosion, shiny rub marks, or fresh wear around brackets, all of which may indicate shifting or stress.
Test Door Seals and Locks
Once the exterior and axle checks are complete, begin assessing access points. Open and close all doors slowly, paying close attention to how each one sits in the frame. Doors that stick, swing unevenly, or fail to latch without force often indicate that the trailer frame has flexed slightly during transport. Such shifting occurs when the trailer is under stress, especially on rough or uneven roads, and may cause doors to fall out of alignment.
Additionally, inspect the rubber seals around each entry point for tears, compression, or loosened adhesive. A worn or shifted seal can compromise your food safety compliance and lead to temperature control issues.
Test locks on every door and storage compartment. Any locking mechanisms that skip, bind, or fail to engage smoothly should be noted for repair or realignment before use.
Examine Water and Electrical Connections
After the exterior and structural checks, focus on the trailer’s water and electrical systems. Look carefully for cracked hoses, loose fittings, or leaks around water connections. These issues can worsen quickly if overlooked.
Before plugging in heavy appliances, test all outlets and light fixtures using an outlet tester or a small device, such as a phone charger or lamp. Make sure that each outlet delivers consistent power and that switches control lights properly. Long transport routes can jostle wiring loose or cause circuit breakers to trip, so also inspect your breaker panel to reset any tripped switches before reconnecting equipment.
Drain lines and filters are also prone to loosening or clogging during travel. Visually inspect hoses for cracks, kinks, or loose fittings, then remove and rinse filters if accessible. Running water through sinks and drains will help you confirm smooth flow and reveal any blockages. Secure all connections firmly to prevent leaks or backups during service.
Check Interior Fixtures and Equipment
Inside the trailer, start inspecting larger fixtures, like prep tables, grills, fryers, water heaters, and refrigeration units. Use a small bubble level or smartphone leveling app to check that each item sits evenly. Gently rock each unit side to side or front to back; there shouldn’t be any wobble or shifting.
Examine your fixtures’ mounting brackets and bolts to confirm they’re tight and haven’t loosened in transit. Search for signs of damage, such as bent legs, burn marks, or dented panels.
Once each fixture has passed a visual and physical inspection, temporarily reconnect it to power or propane to see if it turns on and functions properly. Don’t wait until setup, as discovering a disconnected wire or faulty ignition after service begins can throw off your entire operation.
After checking major equipment, proceed to storage features, such as drawers, shelving units, and cabinets. Open and close each one slowly. If you hear scraping or rattling, inspect the hinges or runners for alignment issues or loose screws. The slightest warping can cause your drawers to jam or shift during service.

Look for Signs of Moisture or Mold
Moisture buildup is a sneaky consequence of travel. Check sealed corners, areas behind fixed equipment, and under flooring edges for any dampness or visible mold. Condensation can form during transit, particularly if ventilation is poor or doors remain closed for extended periods.
Address any signs of moisture within 24 hours to prevent mold from spreading and damaging surfaces, as well as affecting air quality. Dry affected areas thoroughly using clean towels and a fan or dehumidifier, and disinfect non-porous surfaces with a food-safe cleaner. If water has pooled under equipment or seeped into corners, remove nearby fixtures temporarily to allow for complete drying.
Evaluate Ventilation and Fire Safety
Transport can loosen or misalign critical ventilation components, such as range hoods and fan mounts. Ensure that these apparatuses are securely fastened and free of grease or debris.
Gas shutoff valves should be tested by fully turning them off and on again, making sure they move smoothly, fully close, and stop the gas flow when turned off. If the valve sticks or doesn’t seal completely, it should be addressed before operating any appliances.
Fire extinguishers should be firmly mounted in their designated brackets, with gauges showing pressure in the green zone. Check the inspection tag to verify the last service date, and gently shake dry chemical units to prevent powder from settling after transit.
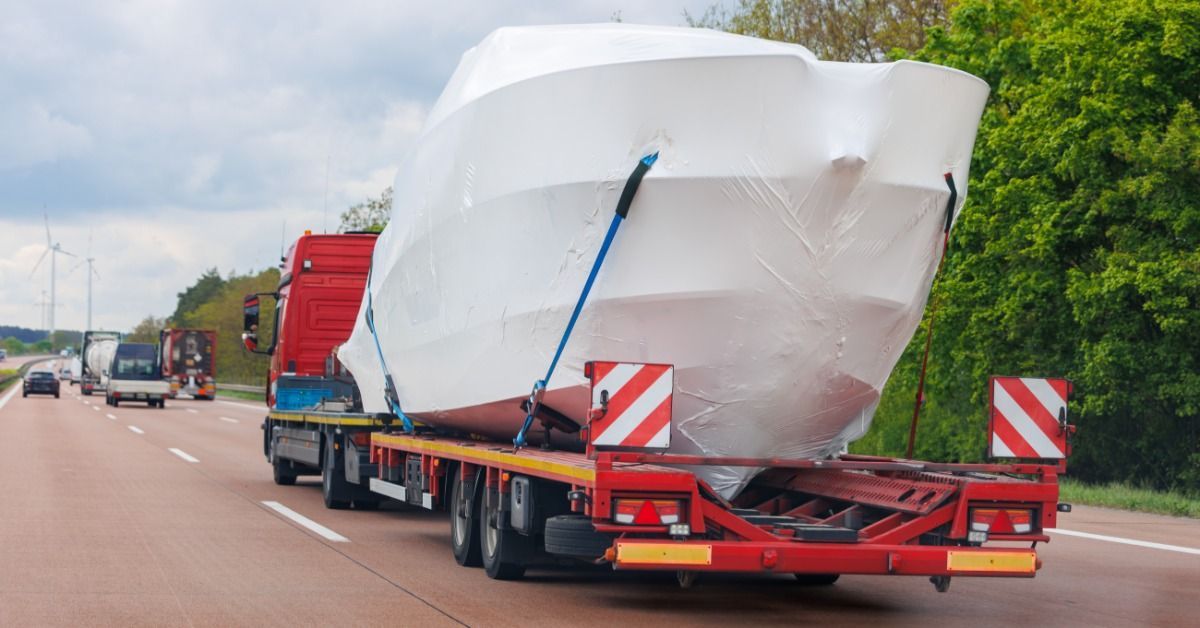
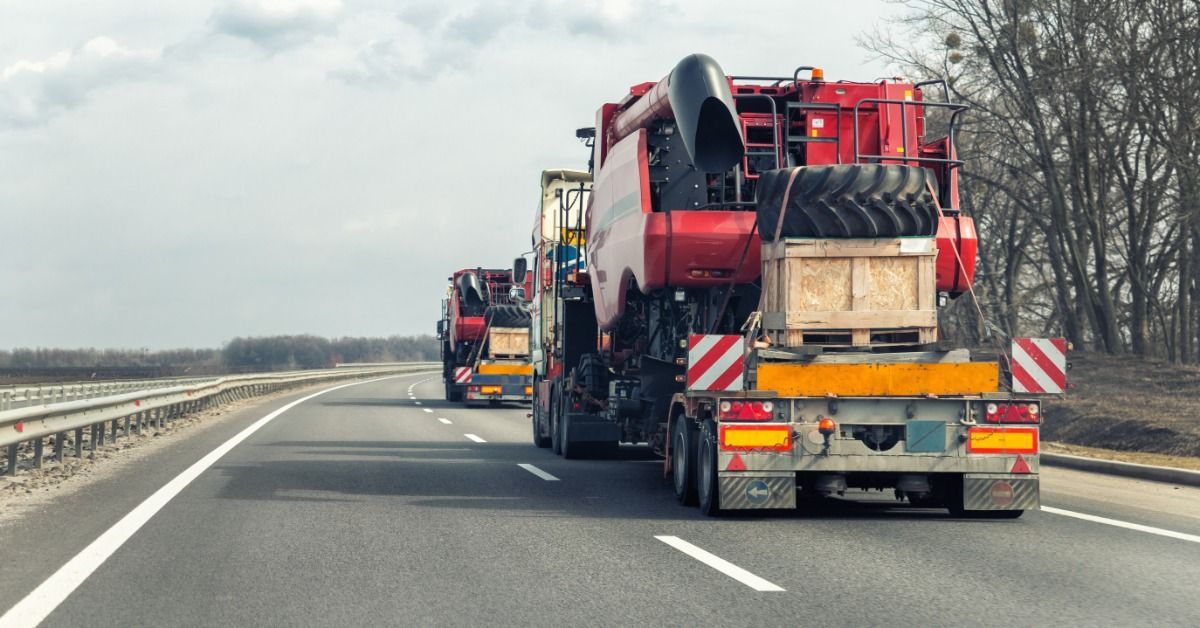
Choose the Right Transport Partner
Inspecting your concession trailer after transport is essential, but it’s only one part of protecting your equipment. Working with the right national transport company helps prevent many of the issues that inspections are meant to catch in the first place.
At One Call Logistics, we safely and efficiently move concession trailers, food trucks, and mobile kitchens across both local and long-distance routes. We’re a more than qualified logistics moving company that knows how to properly secure appliances, brace structural components, and avoid stress points that commonly lead to damage.
When you’re ready for a transport partner who treats your trailer like a working kitchen—not just a load—we encourage you to reach out to us at One Call Logistics. Let us coordinate your next move and ensure your trailer arrives exactly as you left it.